
Bread glorious Bread!!
Ah bread, what a strange relationship we have had. The many years of the gluten-filled delight being a major part of my diet… Toast for breakfast wraps for lunch and pizza or something with garlic bread or the ultimate sin, pot noodle with a slice of white bread slathered with butter, oh the shame!!!!! Later, came the gluten-free rock solid shop brought loaves of 2011 that, let’s face it, were only edible toasted. After a year or so, I finally came up with a decent gluten-free recipe just to discover that all grains of any form flare up my autoimmune issues. (Although gluten is still by far the worst offender!)
Hitting the wraps jackpot:
I tried a few paleo breads but they all lacked the chew I missed from the gluten-filled kind. Plus I later realized tapioca and cassava flours also upset my gut so it left me with even fewer options! Finally, I hit the jackpot. After months of playing around with different flours, I finally came up with a recipe that really fills that bread-shaped hole in my soul. I am yet to make a role or loaf that fits the bill, but these wraps get not only me but my kids excited too!!
They are pretty simple, super yummy and hold up well to all kinds of fillings. Super win!!

INGREDIENTS
1 cup Almond flour
2 cups Arrowroot starch
1tsp Xanthium gum
1tsp Pink Himalayan salt
2 tbsp Raw honey
1/2 – 1 cup hot water
1. Add all your dry ingredients to a large bowl and mix well.
2. Melt the honey in 1/2 cup of hot water (not boiling). Add to your dry ingredients and mix. If needed add a little more hot water until you have a kneadable dough.
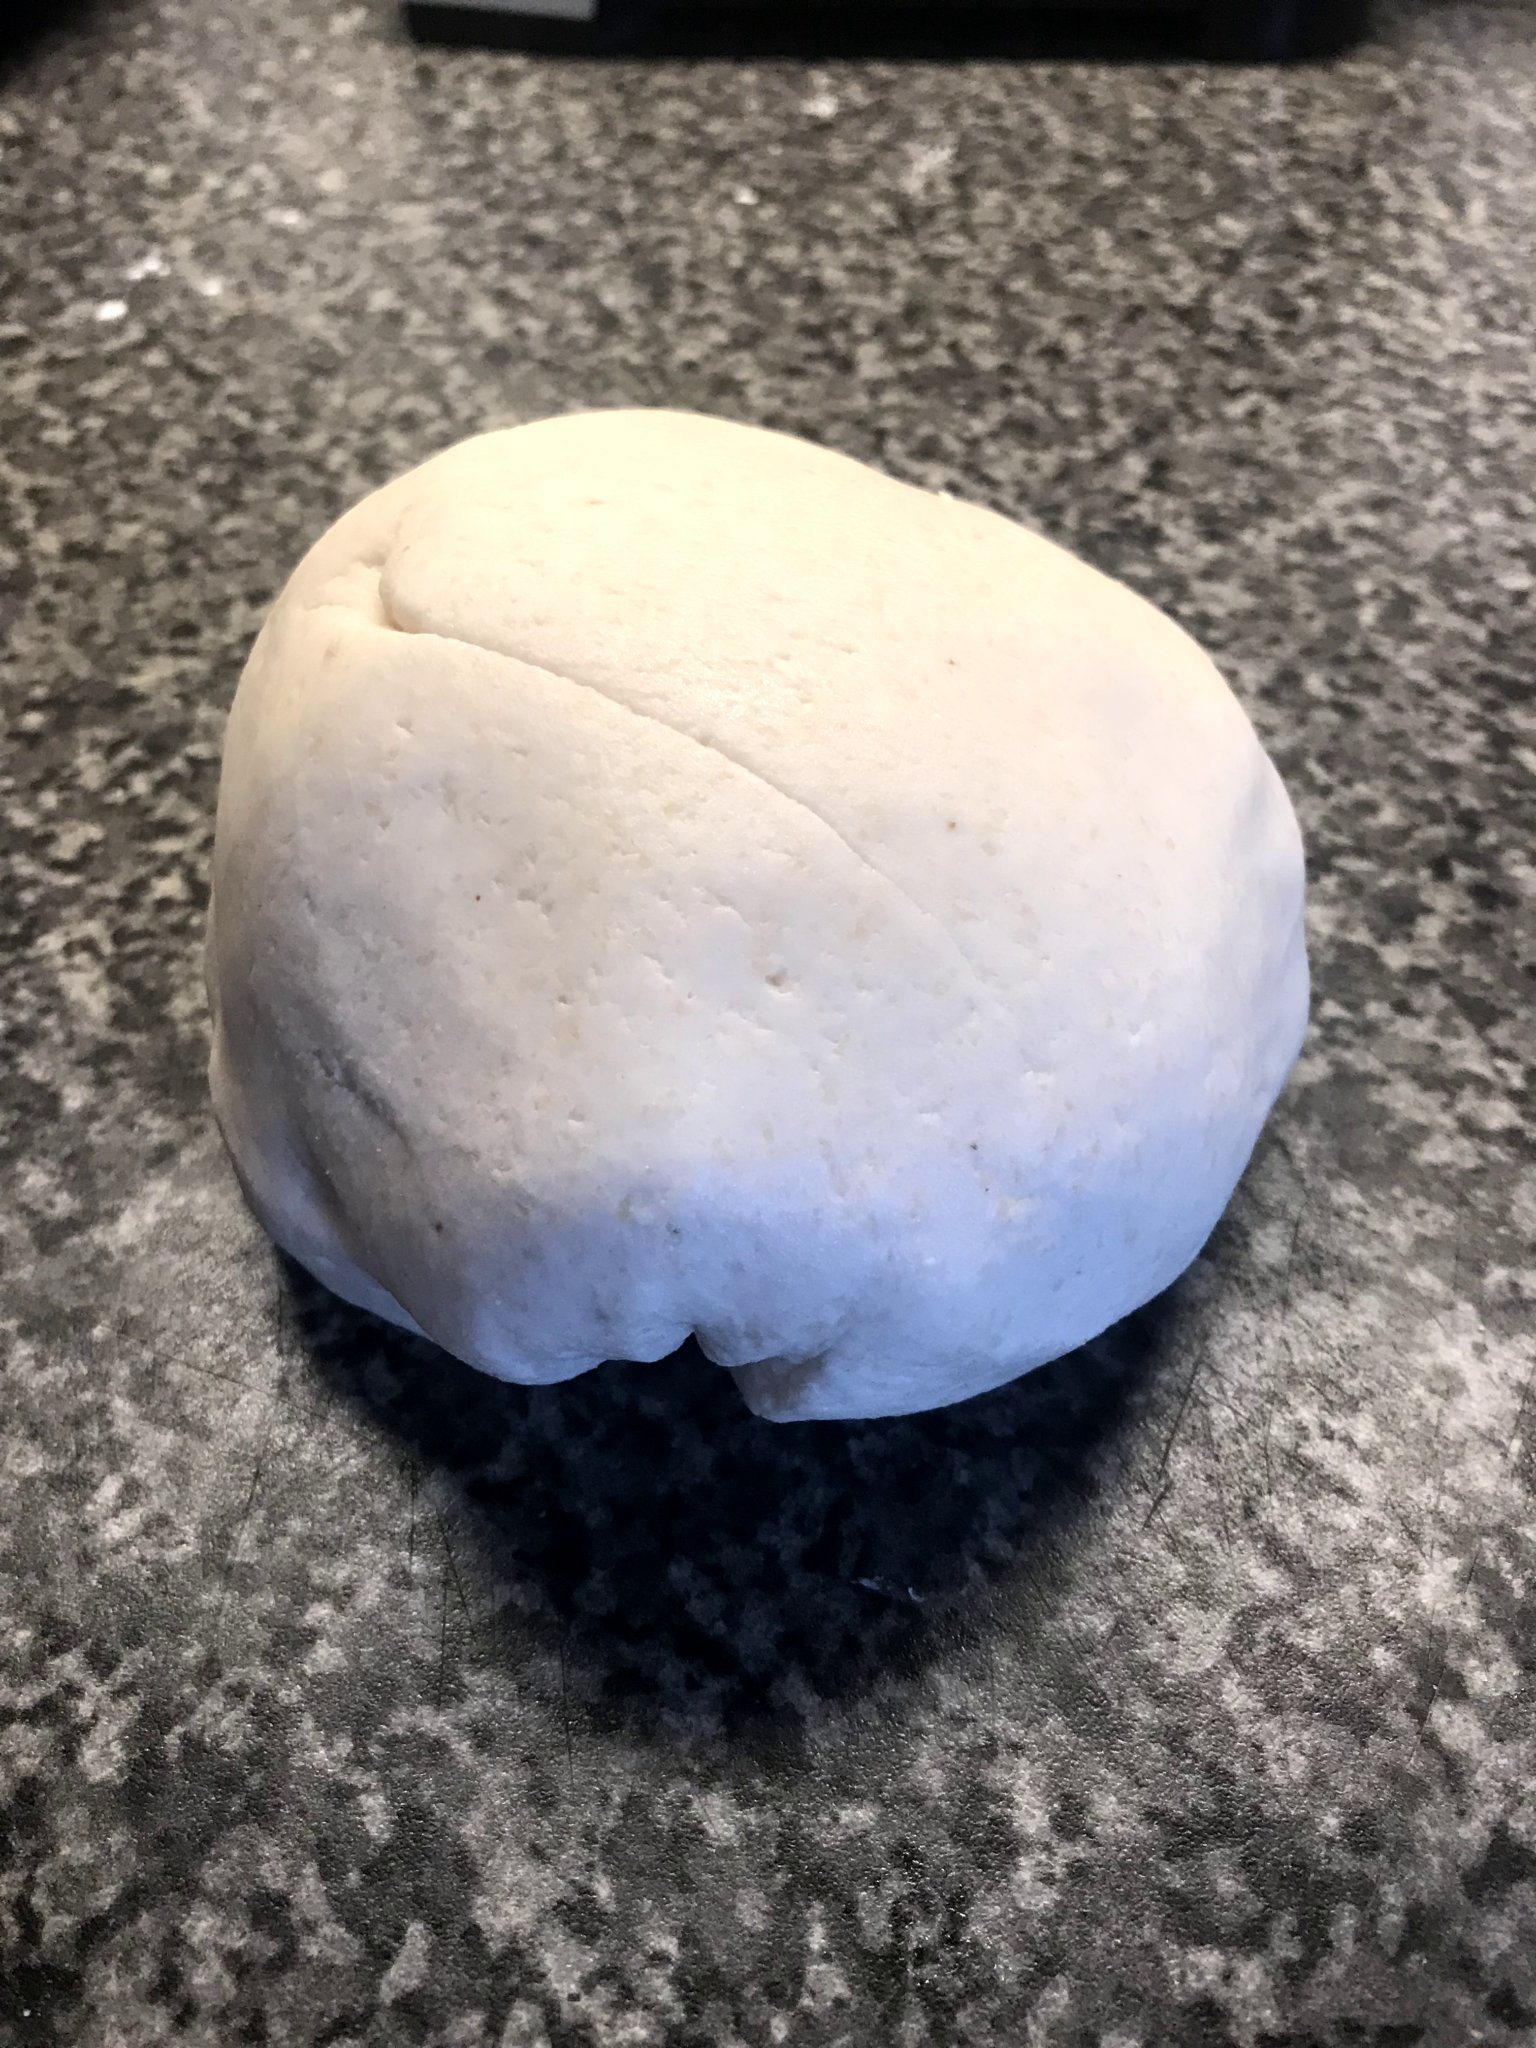
3. Split into 8 balls and store in an airtight bag or cling film to keep from drying out, while you roll and cook each wrap.
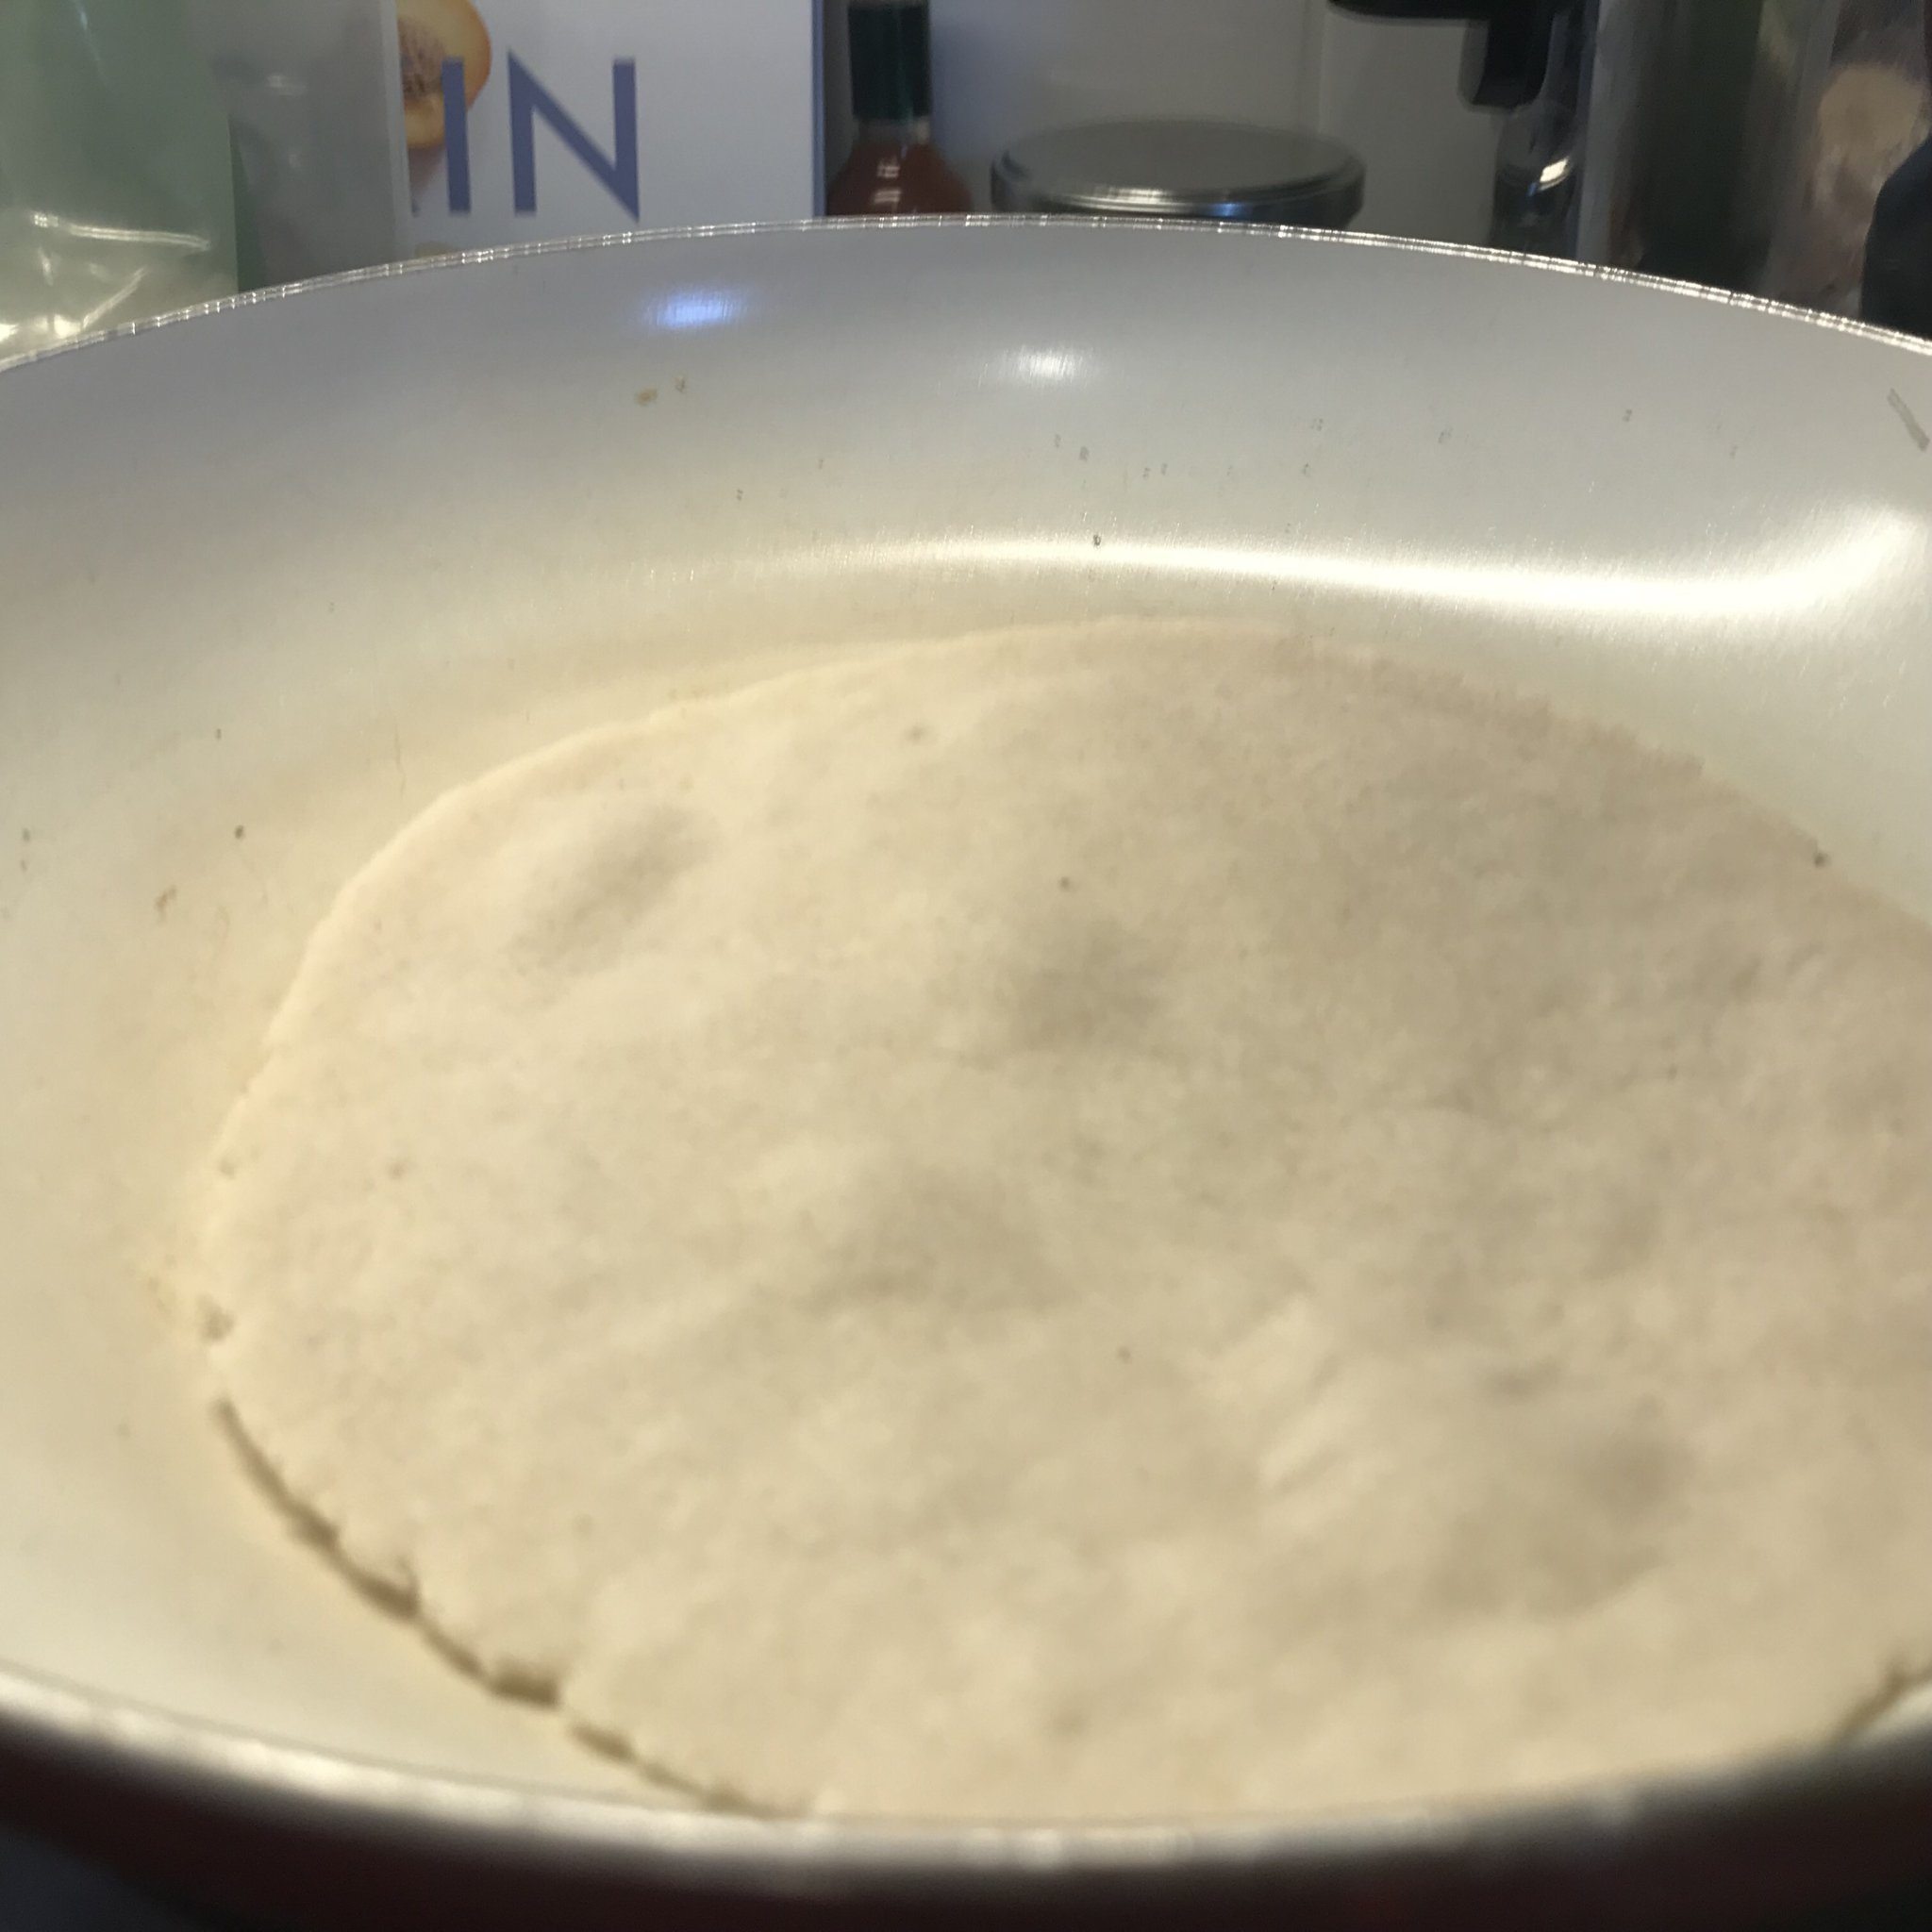
4. Dust your surface and rolling pin with arrowroot and roll out 1 ball until nearly paper thin and place in a dry, nonstick pan on medium-high heat. It should start to bubble up nicely. Give it 3-4 minutes or until it is browned on the bottom. Then flip over and give it another 3-4 minutes.
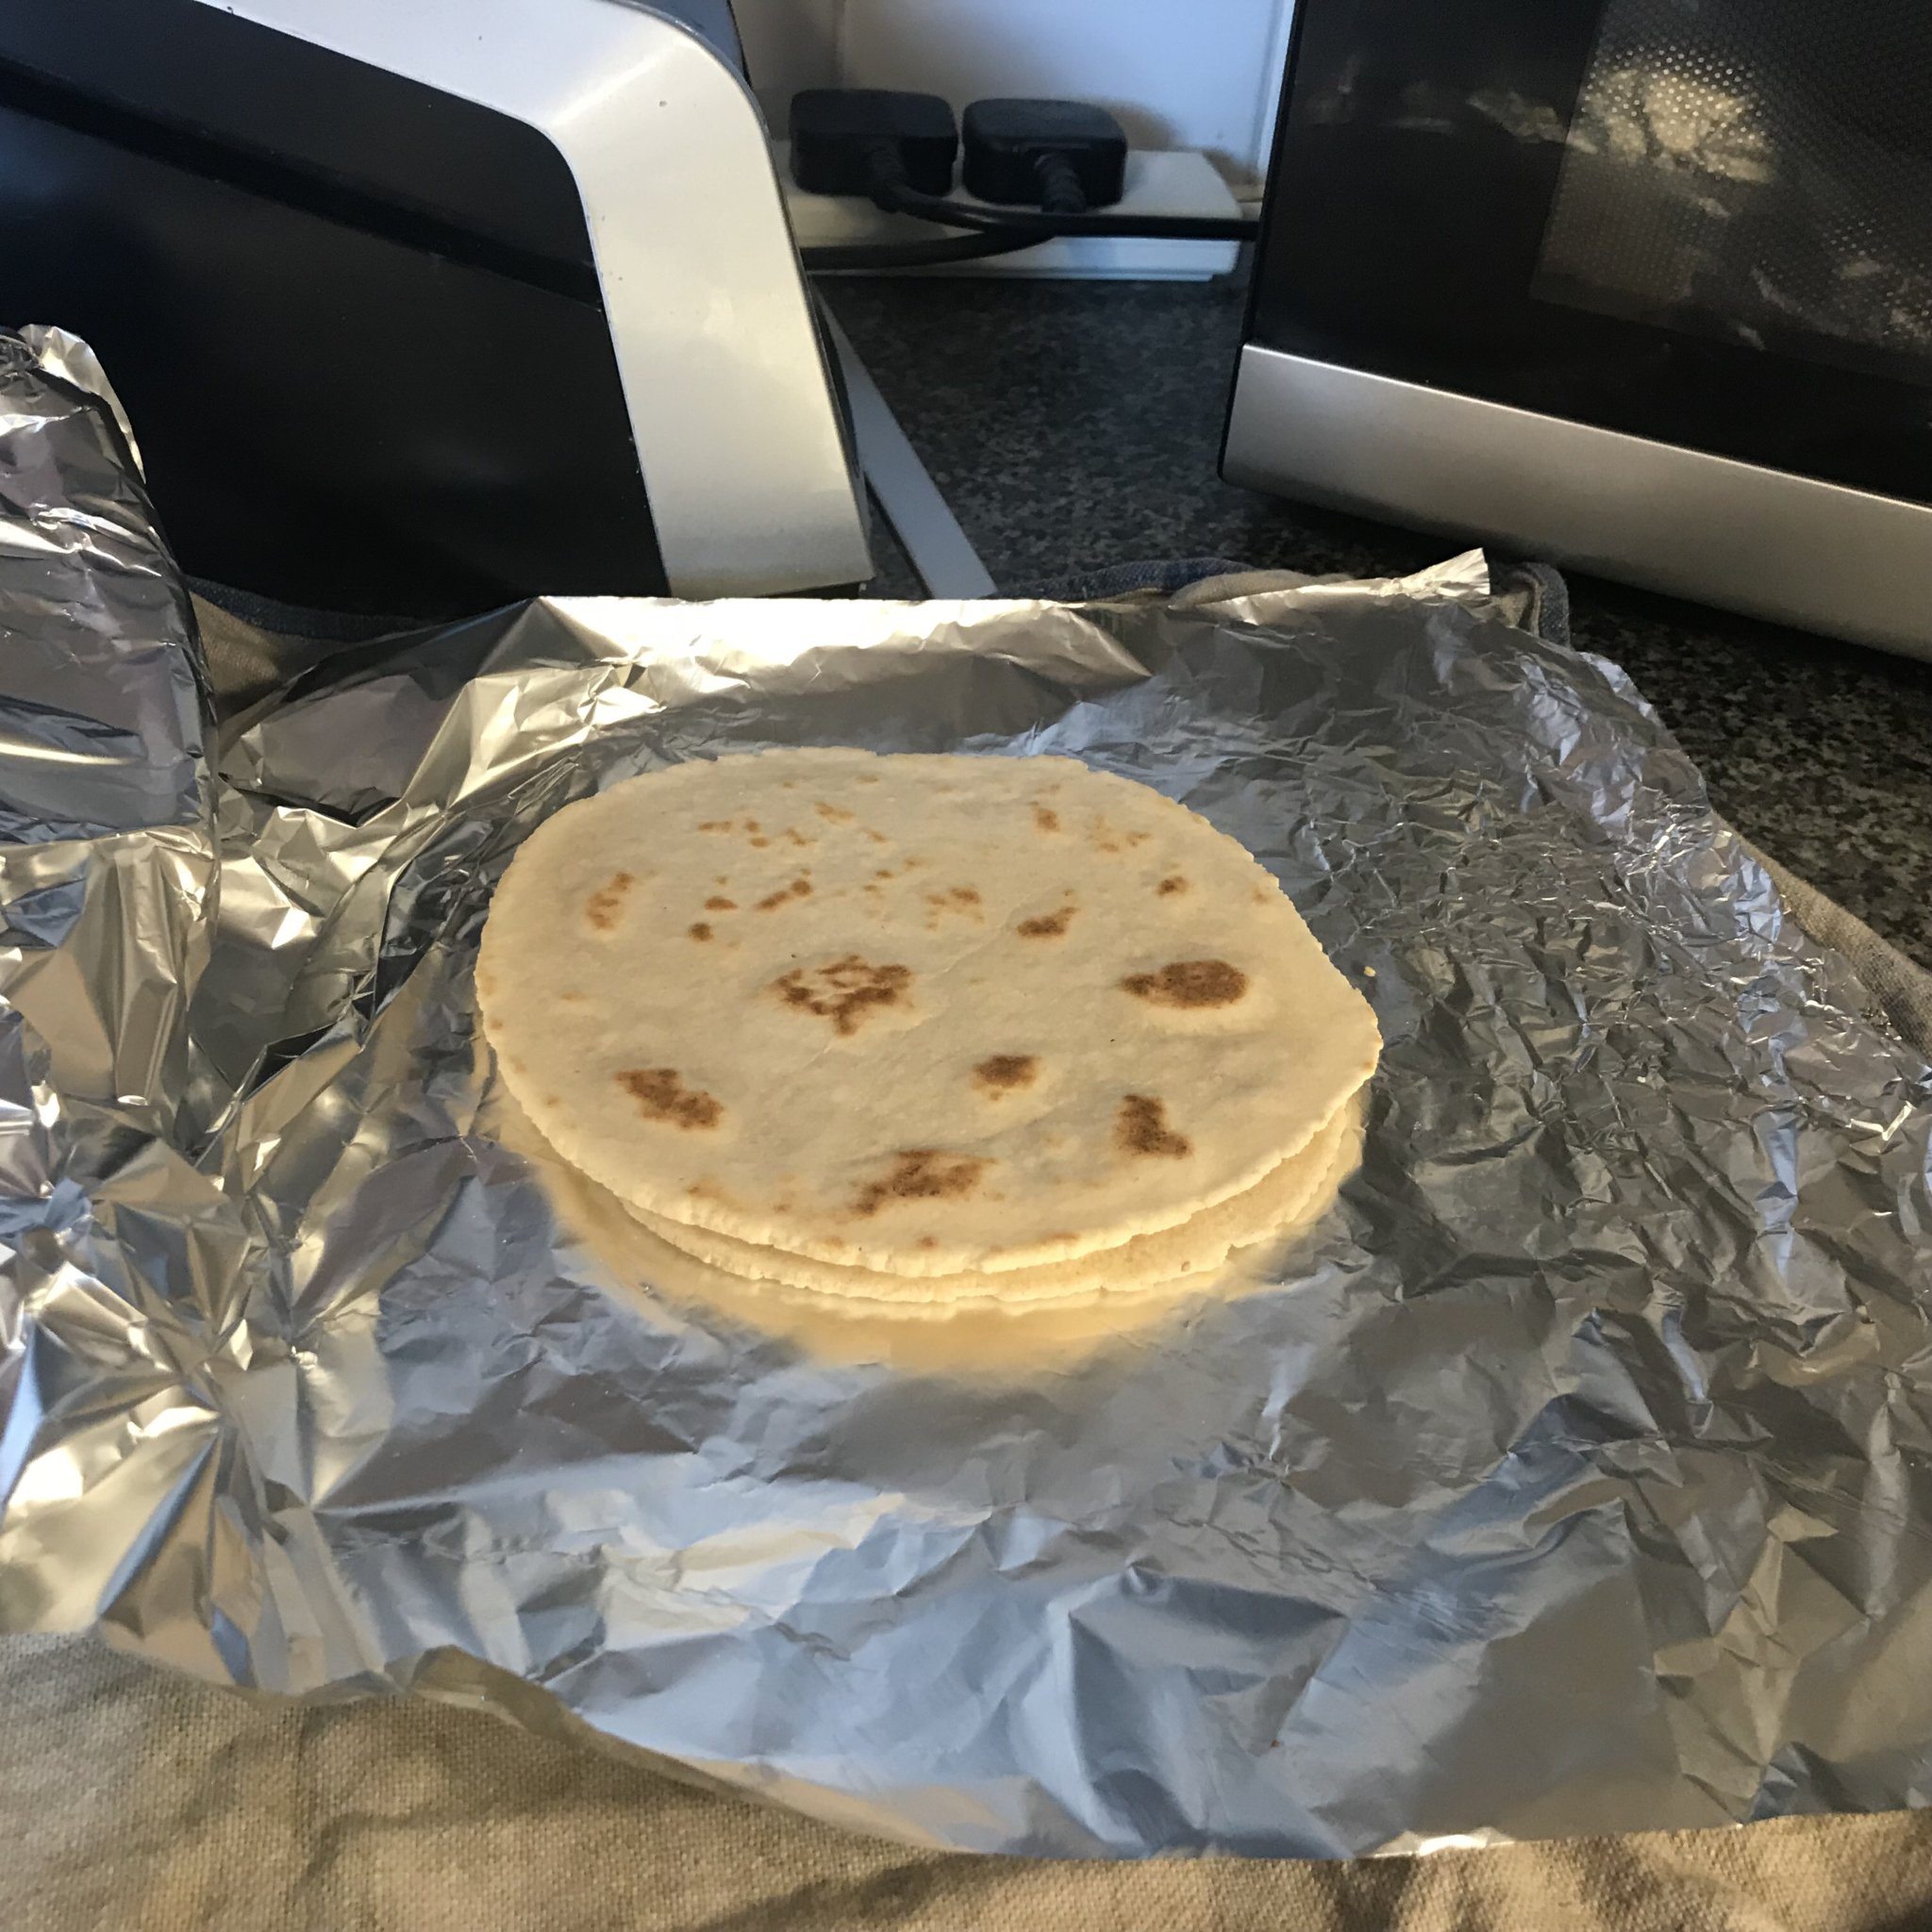
5. Once cooked through, wrap in tinfoil or similar to keep them from drying out.
Lastly, enjoy!!!
Don’t forget to follow us on Instagram and Facebook to keep up to date with all our latest offers, recipes, and health news!